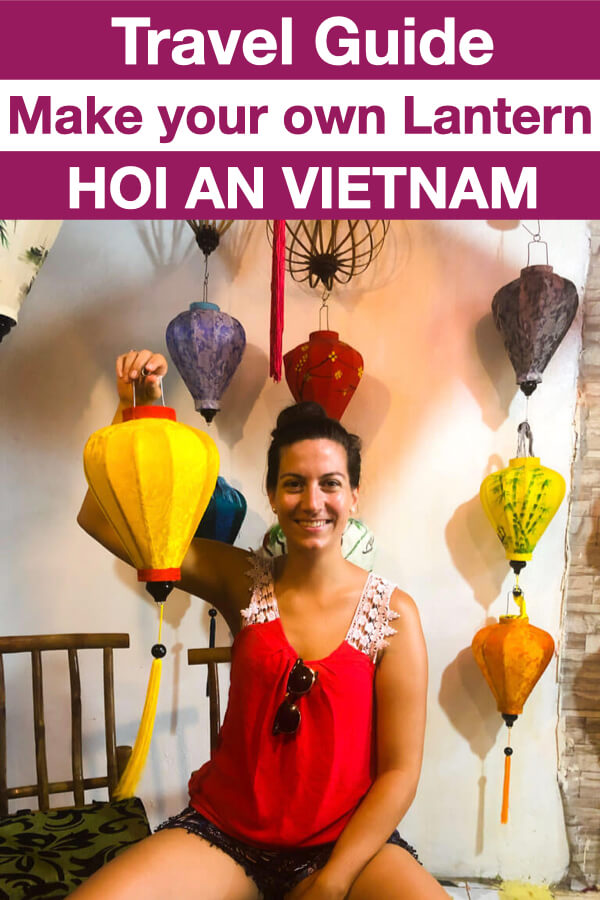
Often you want to remember your travels by buying wonderful souvenirs. But how boring is it to only buy them in the store. Everyone can do that! It is much better to make souvenirs yourself and there are many options in Vietnam, such as at the Lantern Workshop in Hoi An.
Where is Hoi An?
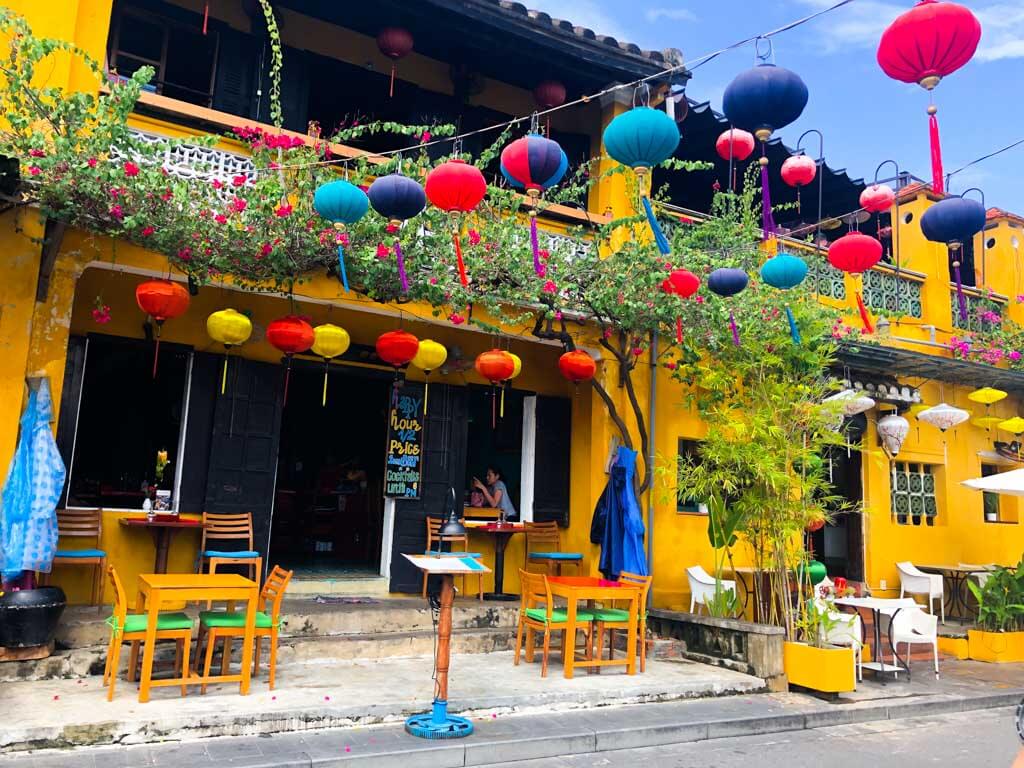
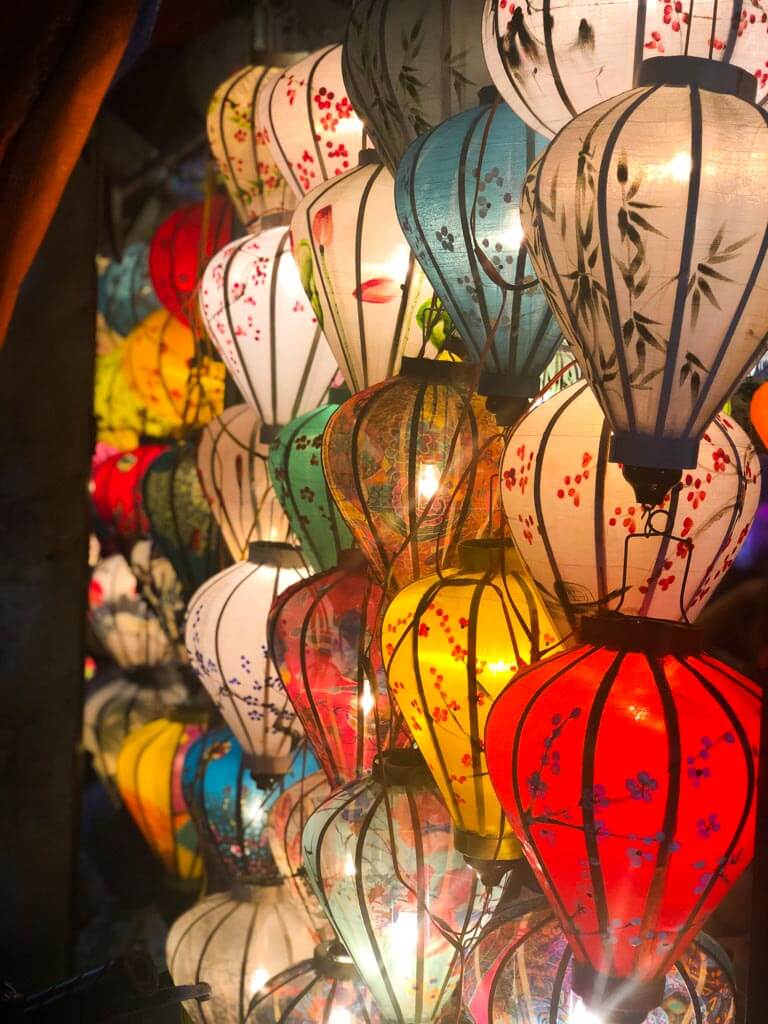
Hoi An is a beautiful city in the middle of Vietnam on the coast and considered a rather small city with only 75k inhabitants. It has an amazing old town which is decorated with thousands of colorful hanging lanterns, be it across streets, in restaurants, on bridges etc.
Hoi An is a city known for its traditional handicraft such as pottery, jewelry making, wood carving, leatherwork, etc. Lots of people come here to get a customized suit or dress for a fraction of the price they would otherwise get in their home country.
Lanterns in Hoi An
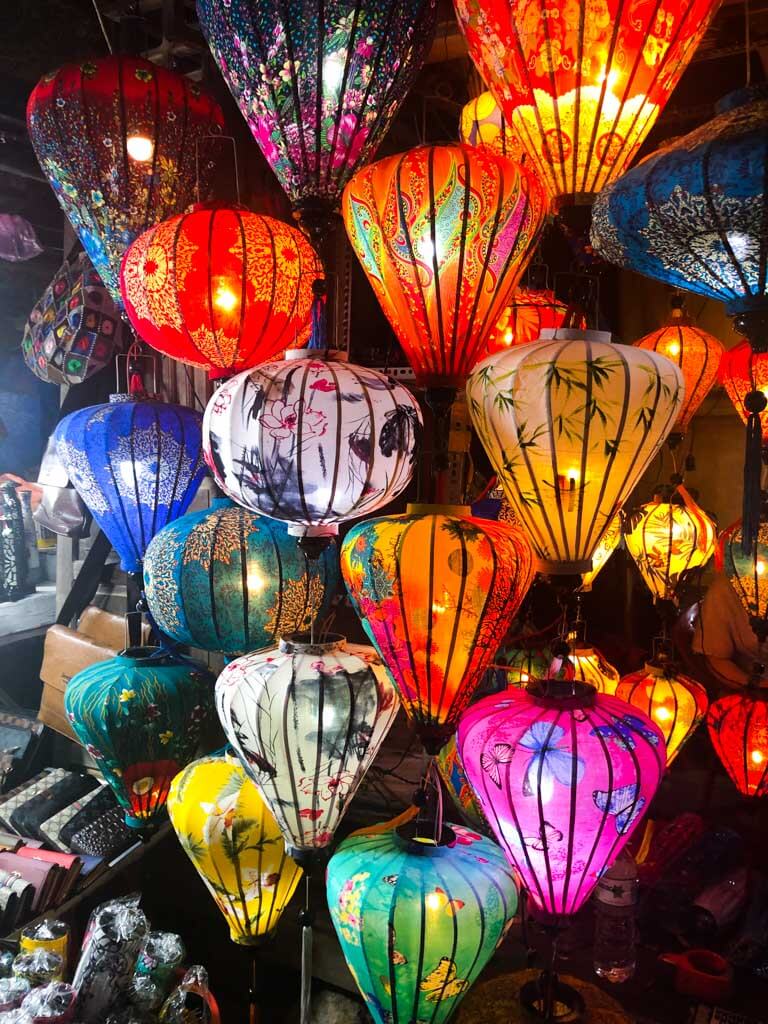
Lanterns were first introduced by the Chinese and later on made their way to Vietnam. Hoi An basically is the birthplace of lanterns in Vietnam and also changed the form and style. The original Chinese lanterns were made out of wood, had a hexagon shape and were usually red as this is considered a lucky color.
The Vietnamese lanterns are made out of bamboo which allows different shapes due to its flexibility. They also come in different colors and have often flowers painted on them as well.
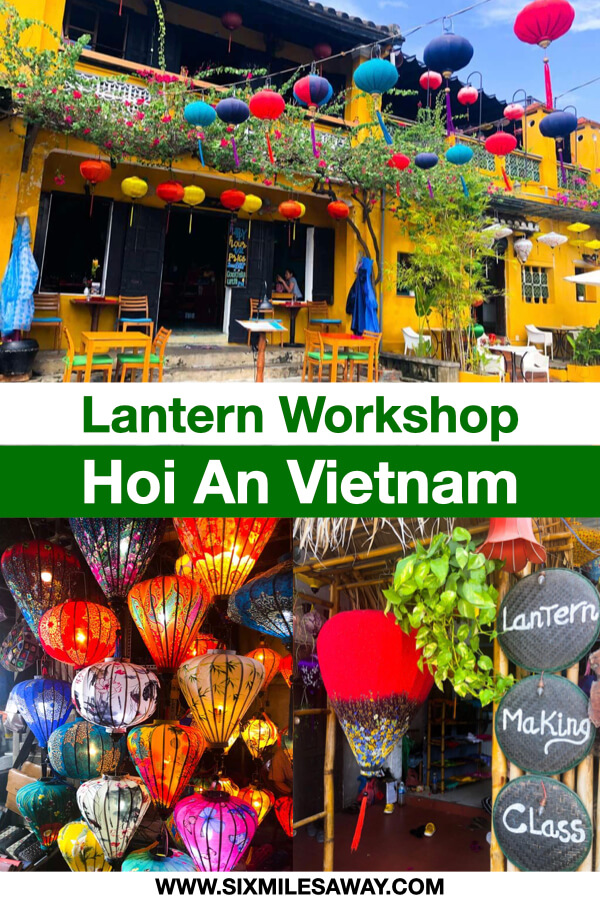
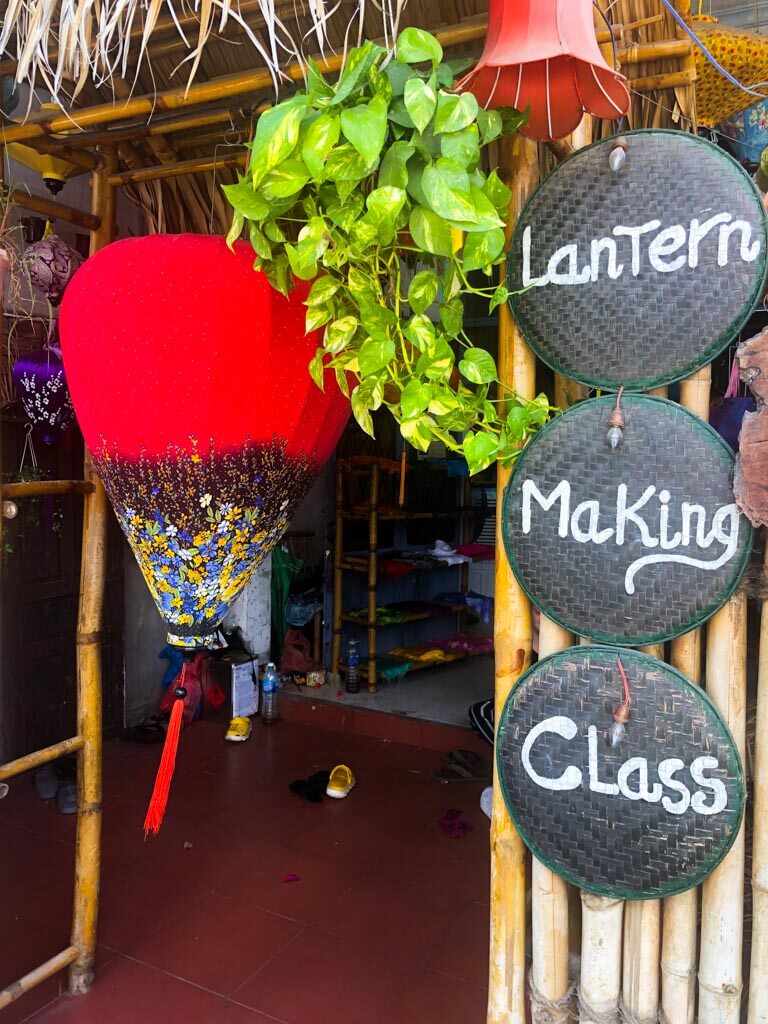
Lantern Workshop in Hoi An
If you are looking for a local, authentic and interactive experience where you can live up your creative side, you should definitely sign up for a lantern workshop in Hoi An. This workshop is a great way to learn about Vietnamese culture and have some fun.
There are many places to do a lantern workshop in Hoi An. I booked mine via the website Klook which led us to 2 brothers (Diep and Len) who are creating lanterns for over 6 years. The class cost us below 10€.
You have two options when you decide to do the lantern workshop in Hoi An with Diep and Len. Either you do a lantern completely from scratch, or you choose a pre-made one where you only need to apply the fabric.
Everyone is doing the same lantern in “garlic shape”. You can decide though which way you want to hang it, either sunrise or sunset position. The great thing about these lanterns is that they are foldable, so you can easily transport them home.
The Workshop Room
The room is an open space with multiple long tables in the middle of the room where everyone gathers around. Looking around, you will see loads of lanterns hanging from the ceiling, on the walls, at the entrance, etc. They all have different colors, shapes, and paintings on them.
When you arrive you are also offered tea to make the Vietnamese hospitality and ambiance perfect.
The Lantern Making Class
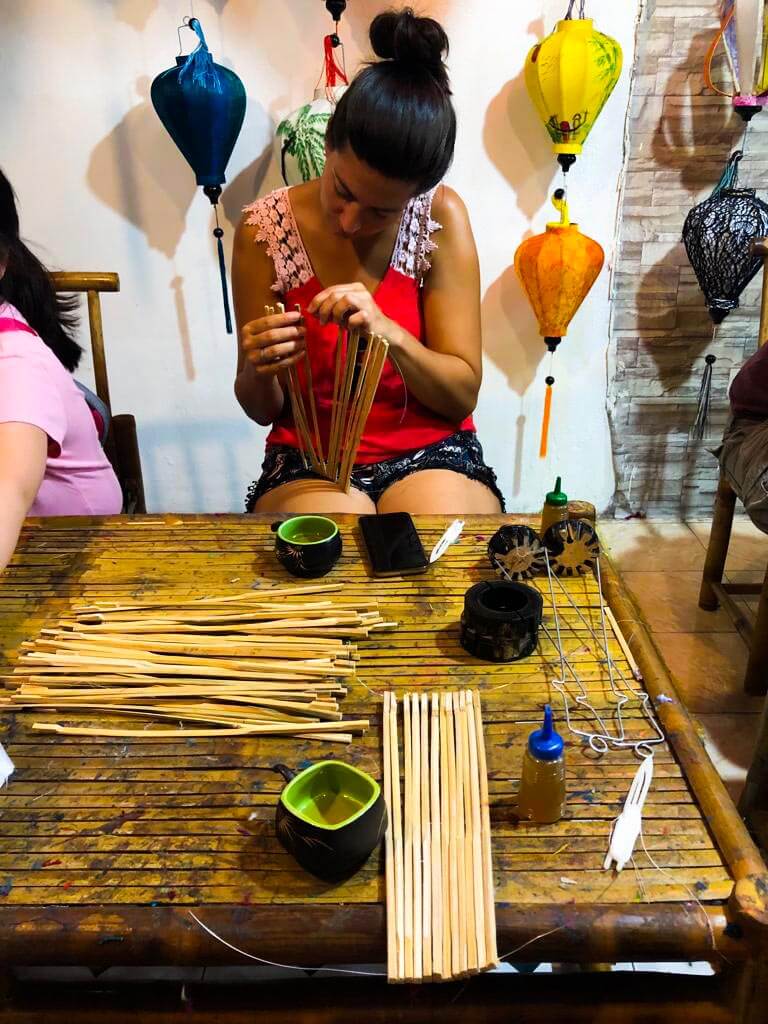
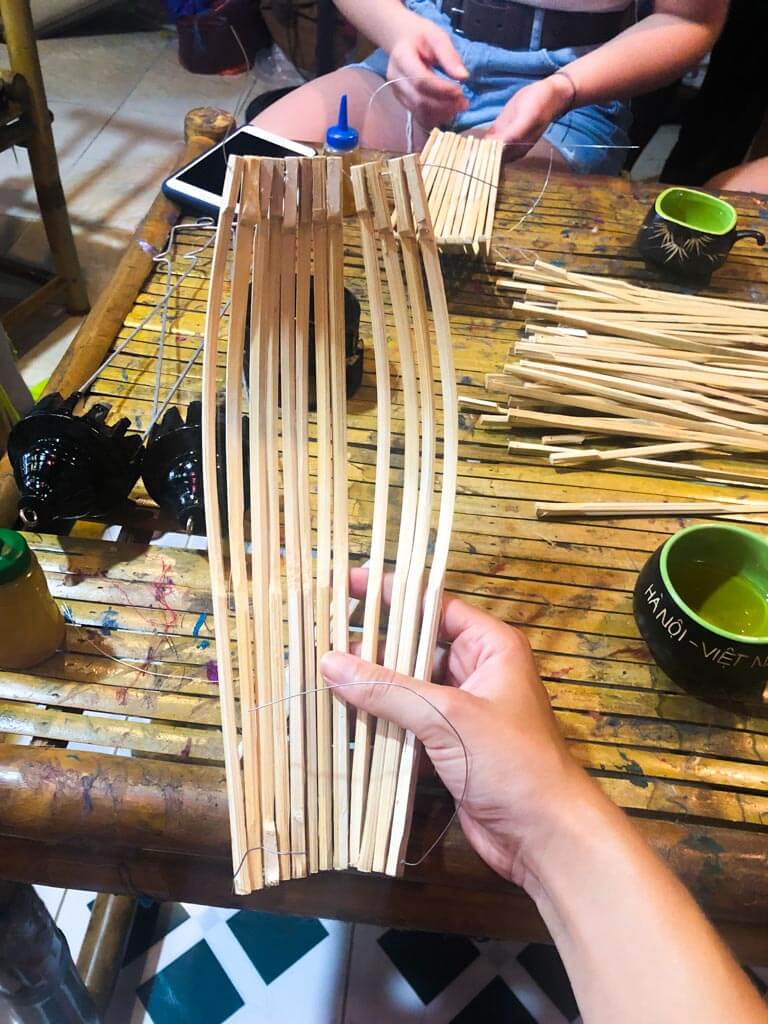
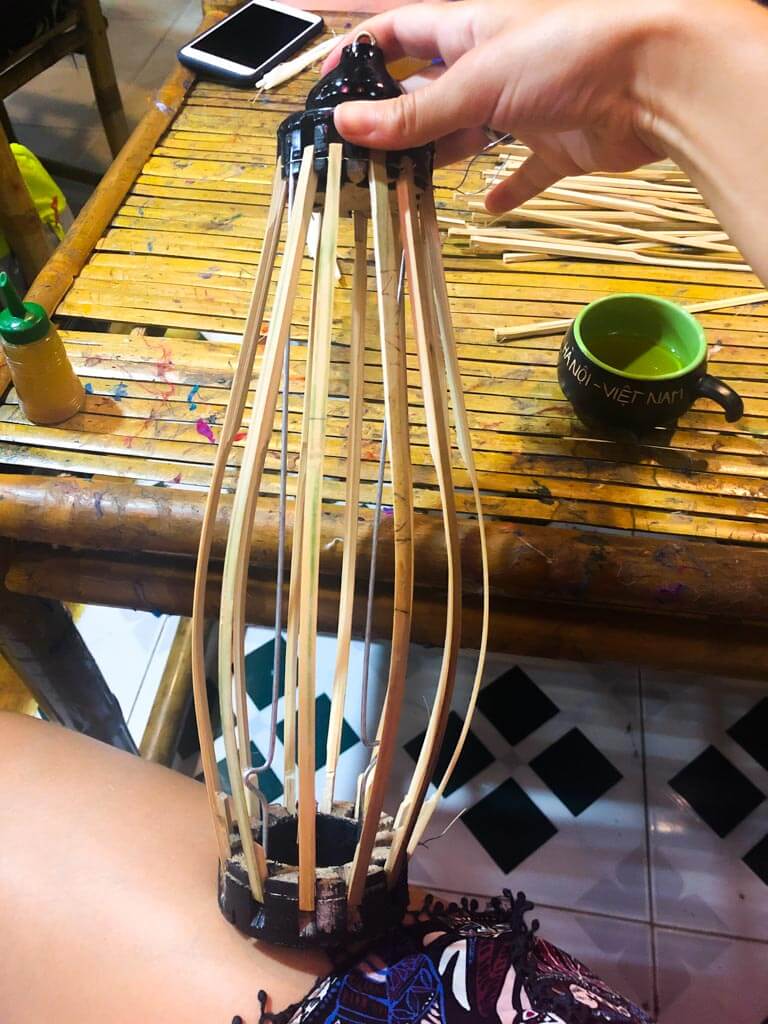
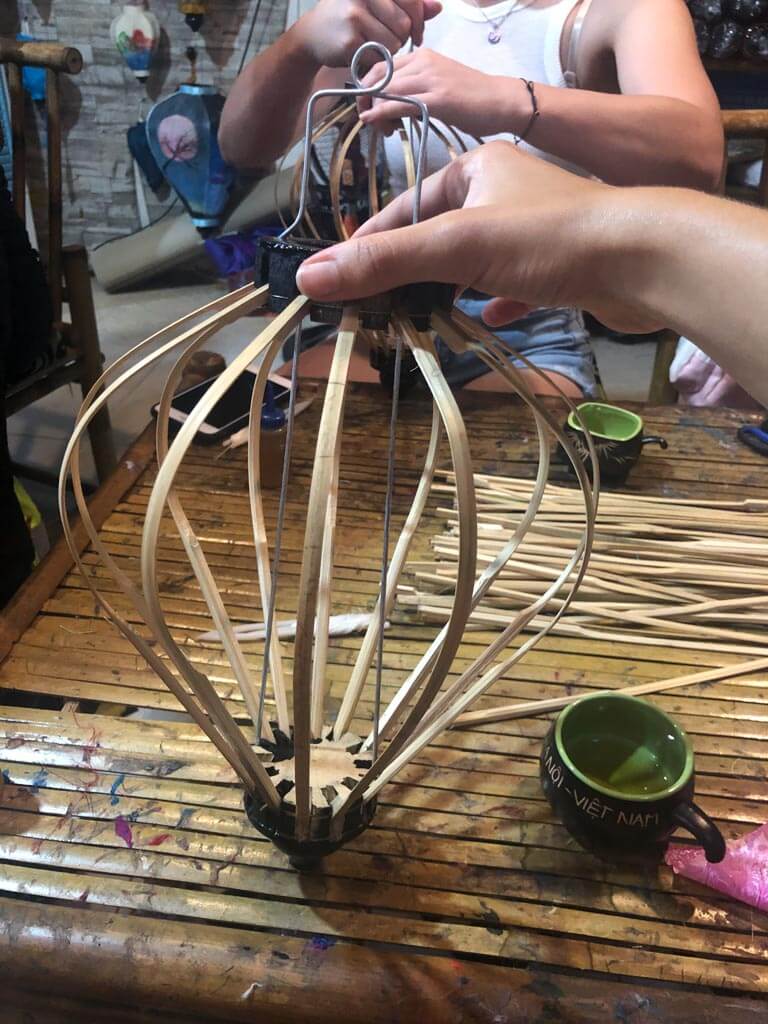
Part 1: Creating the frame
We booked the 2 hours lantern workshop in Hoi An where we made the lanterns from scratch. So, the first hour we were busy making the frame out of bamboo, where you have to put a wire into little holes of 12 bamboo sticks which were pre-cut already. Afterward, you have to secure the shape with a string that you tie around each bamboo stick with a specific technique. For me, this was the hardest part.
Diep and Len are always running from one side of the table to the other to help everyone when needed and make sure your lanterns have the right shape.
Part 2: Attaching the fabric
Alright, now that we got the frame, it is time to choose a beautiful colour for your lantern. Be aware, colours have meanings in Vietnam! So, choose wisely. You can always ask for the meaning, but of course in the end it is your lantern, so do how it pleases you. Here are a few colours and its meanings to consider:
- RED – luck
- YELLOW – wealth
- GREEN – jealousy
- BLUE – hope
- BLACK – evil
- PURPLE – nostalgia
- WHITE – purity
After you chose your preferred fabric, the work continues. Time to glue the fabric onto the base you just created. It is important to not use too much glue in order not to leave spots, but also not too little as it wouldn’t hold otherwise. Furthermore, you must make sure to stretch the fabric so that you can glue it tightly and it does not curve.

Part 3: Trim the fabric & Choose string
Once you have successfully attached the fabric and waited a few minutes until the glue dried, you can trim the excessive fabric. Be careful not to cut into the fabric and cut as neatly as possible. This will have an effect on how beautiful your lantern will turn out. The last step is to choose some strings to hang on the bottom of the lantern.
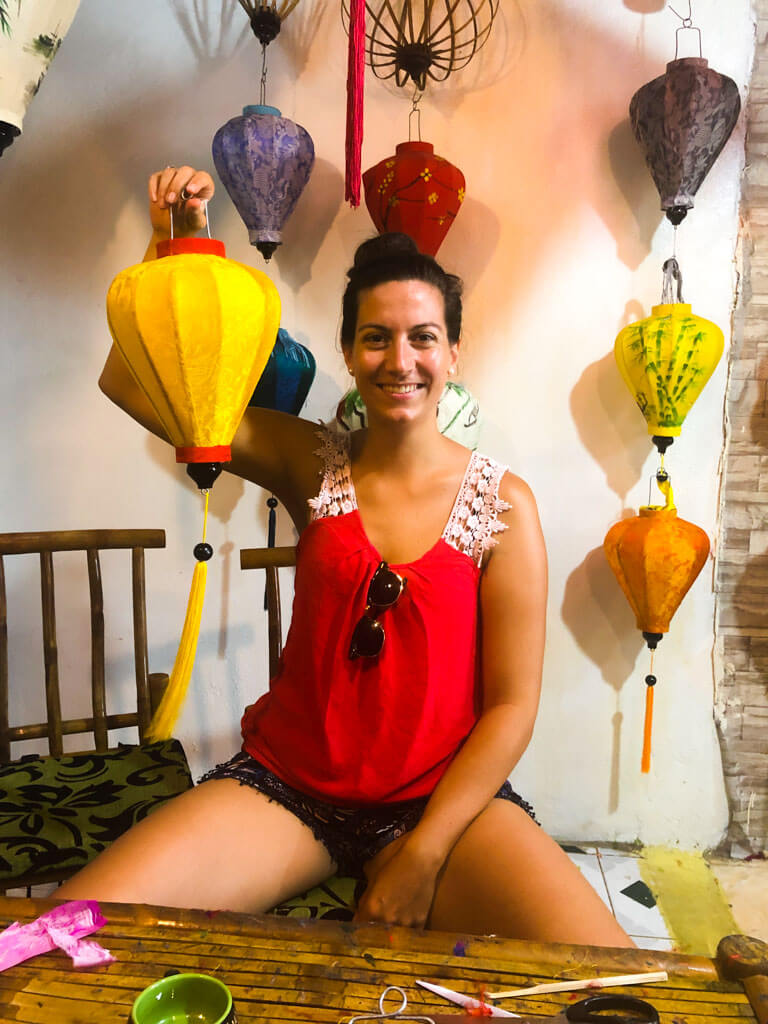
Voila! You did it. Time to check out how it turned out. Diep and Len have prepared some light bulbs there where you can put your lamp on to see how it looks like in action. Of course, your lamps don’t need to be hung with light back home. They also look great by themselves as decoration in your house.
Opinion about the Lantern Workshop in Hoi An
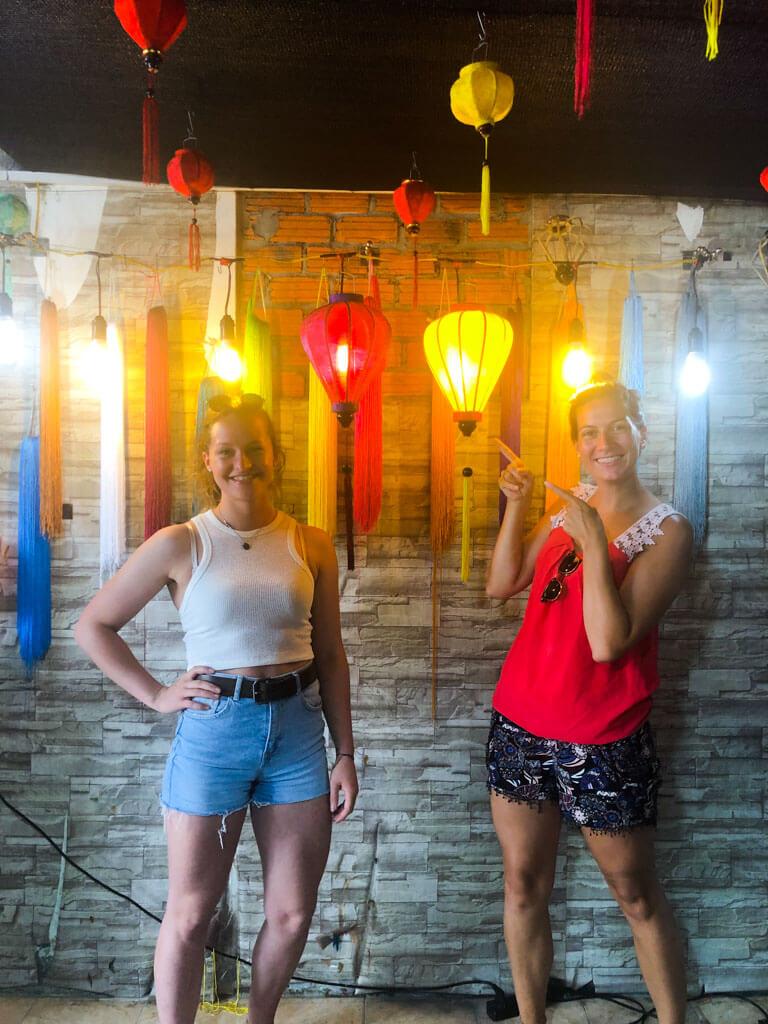
I had a great time during this lantern workshop in Hoi An and it is suitable for almost every age group. We even had children participate as young as 5 years old. They do require help from their parents but are totally welcome.
Dien and Len are super friendly, speak great English and are very helpful throughout the whole process. We were around 10 people which is almost the maximum that can fit into the room (probably 15 max.). However, we all left with beautiful lanterns at the end of the day. It was great to meet other travellers and exchange stories and knowledge. In case, you are a group just ask in advance for space as they are very popular.
The Lantern workshop in Hoi An is a great way to spend your morning or afternoon and get creative. It is also an opportunity to bring home your own handmade, unique souvenir which holds great memories.
If you are doing a Vietnam road trip, also check out those 6 fun things to do in Dalat and how to apply for the correct Vietnam visa.